
If you’re planning to sell your Surface Pro 7, or are having technical difficulties, recovering the Surface Pro 7 is recommended. Here’s how to do it.
Download the Recovery Image
Before we get started, you have to acquire the files necessary for recovery. To do that, you’re going to need your Surface Laptop or Surface Pro 7 serial number and some time to allow the download to complete. (You can find the 12-digit serial number on the bottom of your device.) The download is around 9GB, so it may take a while depending on your internet connection.
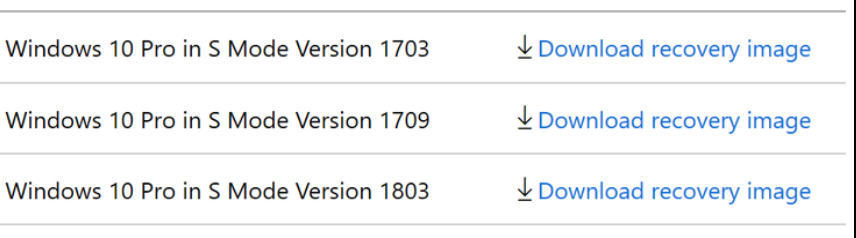
Also, depending on whether your device is a Surface Pro 7 or other Surface model, you will either be recovering to Windows 10 Pro in S mode, or Windows 10 Home. The Surface Pro 7 recovery image is Windows 10 Pro, whereas the original Surface Pro 7 recovery image is Windows 10 Pro in S mode.
- Open Microsoft’s recovery image download
- Select your Surface in the drop-down menu.
- Enter your Surface Laptop serial number.
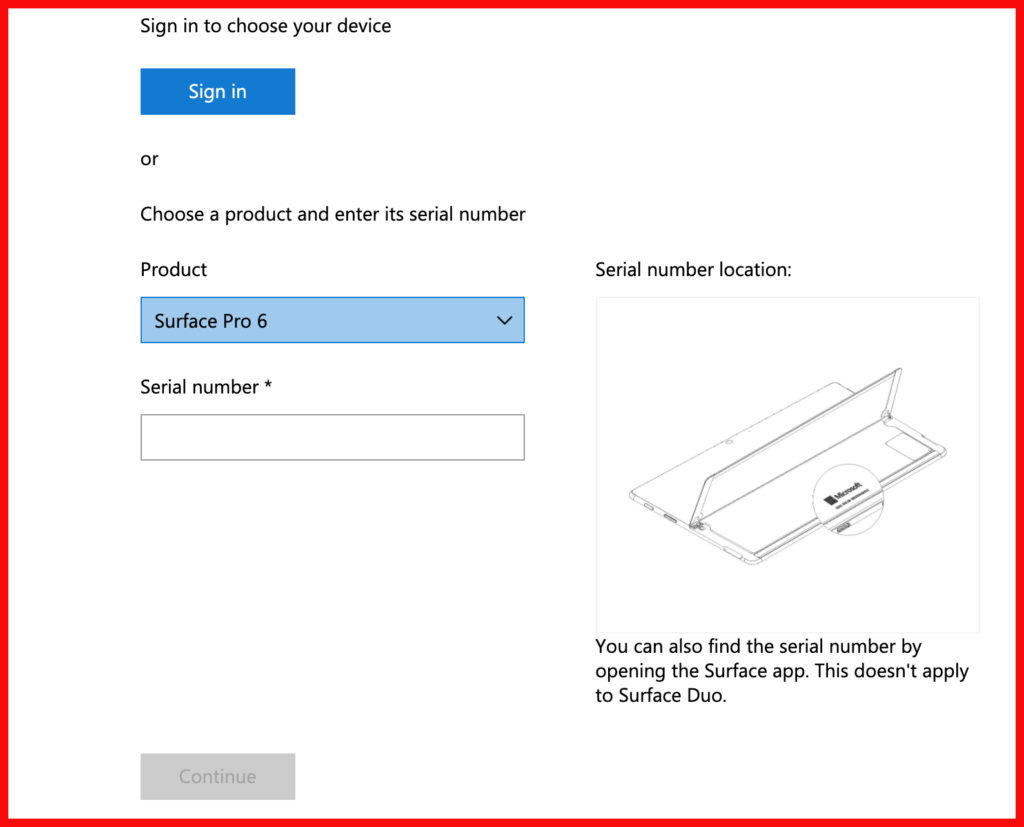
4- Select Download recovery image on the latest version available. The download will take some time depending on your internet connection.
Create a USB Recovery Drive
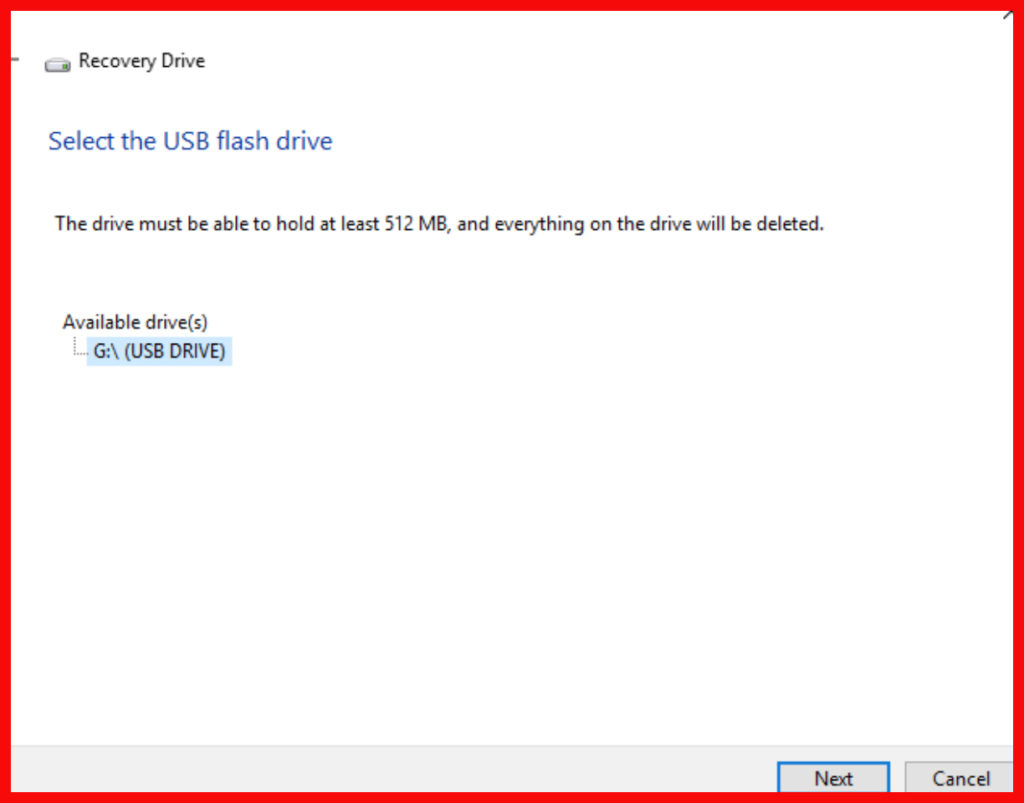
Now that you have the necessary files, you need to set up a USB drive for recovery. We’ll be using the USB drive to recover the Surface Pro 7. Make sure the USB drive is at least 16GB in size, and that you backed up all the data on it first.
- Press Start.
- Search for “Create a recovery drive”.

- Deselect Backup system files to the recovery drive.
- Press Next.

- Select the USB drive you’ll be using as the recovery drive.
- Press Next.
- Select Create drive.

Extract Recovery Files
Once your USB recovery drive is created, you need to transfer all of the recovery files you downloaded earlier.
- Right click on the downloaded Recovery File.
- Select Extract All.

3. Select Extract. This will create a folder in the same directory as your downloaded recovery file, into which the contents will be extracted.

4- Open the extracted contents folder. It will have a name along the lines of “BMR_151_12.761.0” (the specific name may vary depending on the recovery version you download).
5- Copy all the files in the extracted folder into your newly created USB recovery drive.
You can press CTRL + A to select all of the files in the folder and drag-and-drop them into the drive labeled “RECOVERY” in the left sidebar.
You may be prompted to replace already existing files in the destination. If so, select Replace files in destination.
Recover Surface Laptop
Now that you’ve created the USB recovery drive and loaded all the necessary files onto it, you can finally get to recovering the Surface Pro. Make sure you backed up all your data first, as this process will remove all your apps, documents and settings.
- Power off your device.
- Insert the USB recovery drive we just created into the USB port on the Surface Pro or any Surface
- Hold the volume-down and power button at the same time.
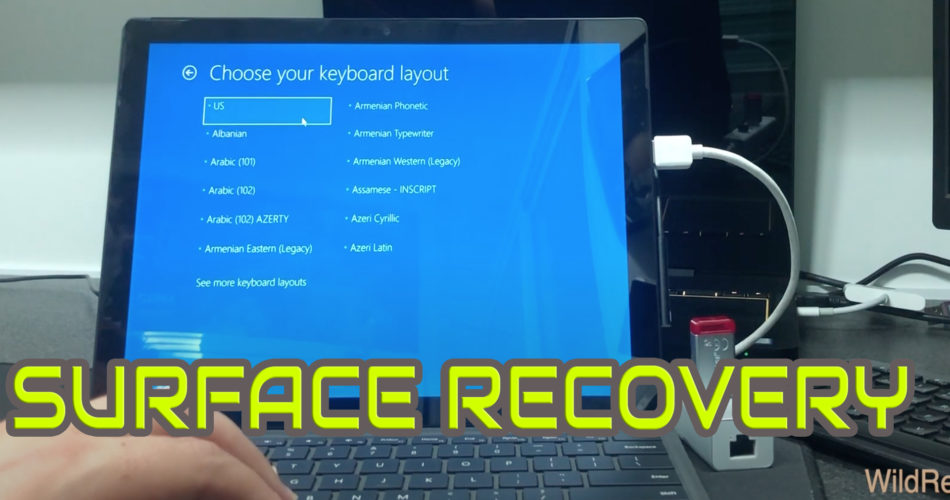
- When the Surface logo appears, let go of the buttons. A blue screen with language selection options will appear.
- Select your language and keyboard settings

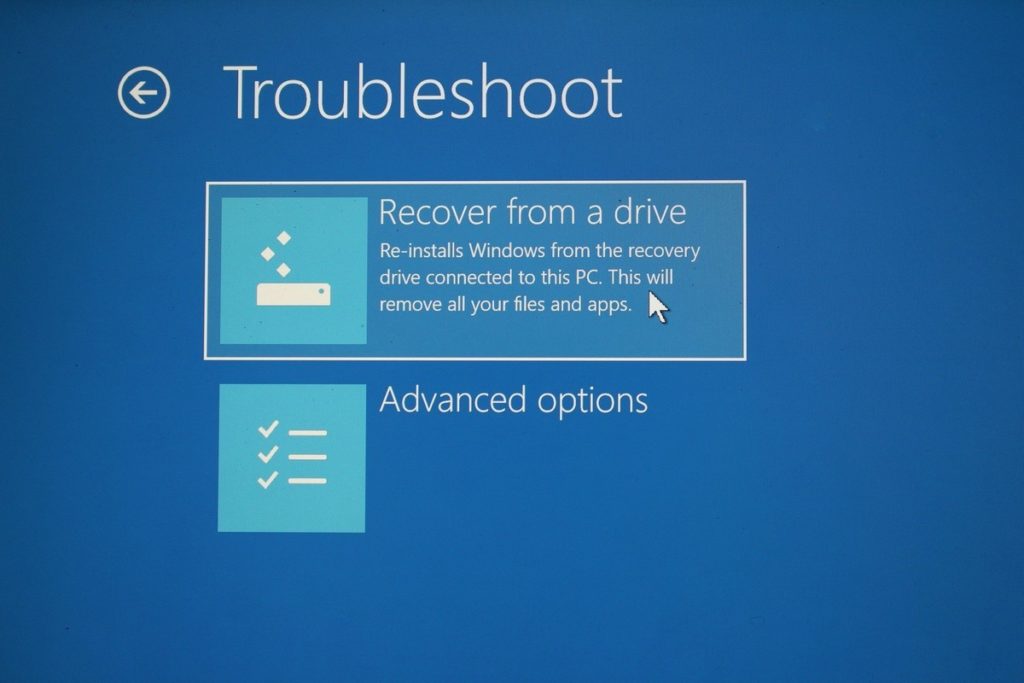
6. Select Troubleshoot.

7. Select Recover from a drive.
8. If prompted for a recovery key, select Skip this drive.
9. Select Just remove my files.
- If you’re parting ways with your device, I recommend selecting Fully clean the drive to thoroughly erase your old files.
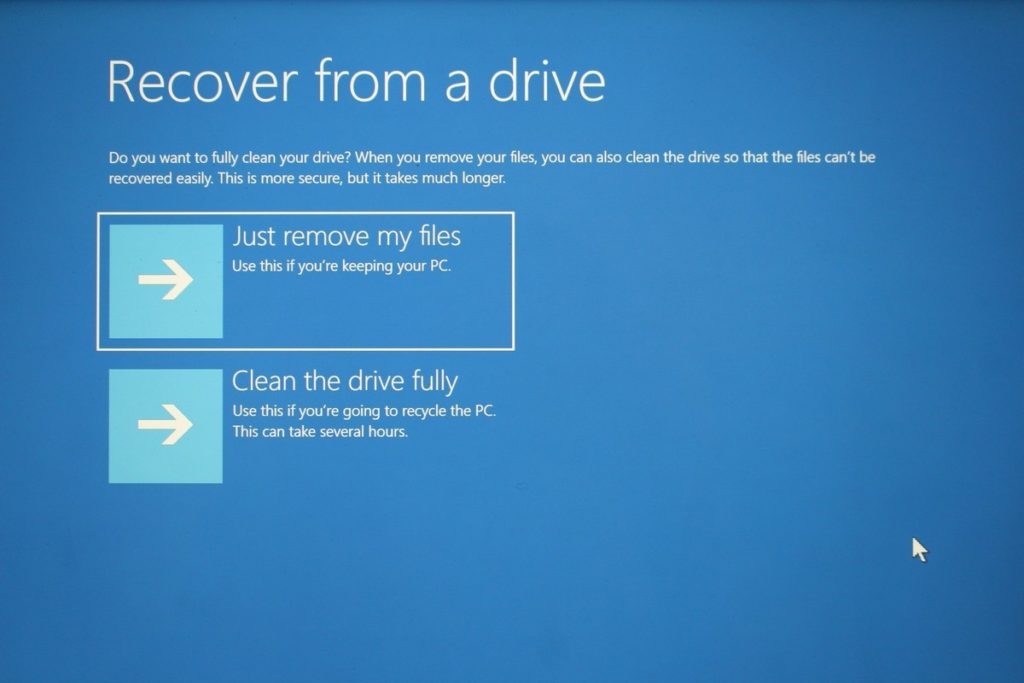
10. Select Recover. This will restart your Surface Pro and take some time.

That’s it. Your Surface Pro should now be recovered and running Windows 10