Windows 10 offers many ways to capture a screenshot. To take a screenshot, all you need to do is press Ctrl + PRTSC or Fn + PRTSC and you instantly have a screenshot. There is even a built-in Snipping Tool that allows you to capture a section of a window as well as pop-up menus.
But all those methods only allow you to capture content that is within the dimensions of the browser’s viewing area. What if you want to capture a screenshot of a scrolling window of a webpage, document, or any other content that’s beyond the viewable area? In such cases, your only option would be to use a third-party application.
In this post, you’ll learn the best tools to capture a scrolling screenshot in Windows.
1- Apowersoft Screen Capture Pro
Apowersoft Screen Capture Pro is an innovative and highly-customizable screenshot-capture and image-editing tool. The program leaves no stone unturned when it comes to screenshot capturing, thanks to its ten screenshot modes, which include Scrolling screenshots, Menu, and Freehand, just to mention a few.

The scrolling window capture mode allows you to capture an entire webpage, document, or browser, including contents hidden from the viewer. It also comes with a “Task Scheduler” that you can also use to take automatic screenshots.
In addition to screenshot capturing, Apowersoft Screen Capture Pro comes with a robust image editor which provides a wealth of options for you to edit your screenshots. What’s more, you can also use this tool to record the screen, upload, and share online. However, the program is quite expensive. A lifetime license goes for $79.95. You can also opt for monthly subscriptions starting from $12.95 per month.
Knowing how to capture scrolling screenshots can be of great use to you, especially if you’re looking into creating some instructional content. Scrolling screenshots can also come in handy when you want to report software issues, as you’ll be able to point out the issues clearly.
2- Snagit
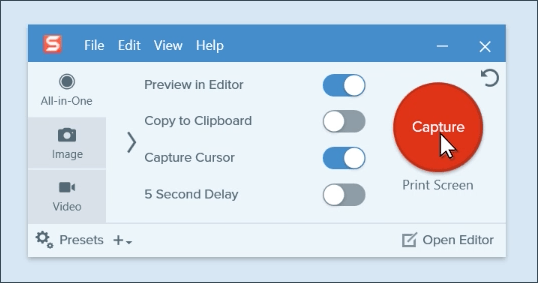
Snagit is a popular screenshot-capture and video-recording software created and distributed by TechSmith. It features a sleek interface that is more focused than PicPicks.

It also boasts of superior image-editing functionalities that are more polished than those of PicPicks. However, Snagit is not free and costs $50 per license, which is relatively high.
Because the main focus of Snagit is on screenshot capture, it comes with advanced screen capturing and editing features that blow the competition out of the water. For example, it has a Panoramic Capture feature that allows you to capture just a portion of a scrolling Window.
Capturing a scrolling window on Snagit is also easier and more user-friendly. All you have to do is navigate to the all-in-one-tab and click the “Capture” button. Then click on the yellow arrows depending on the direction you want to scroll. Snagit will capture everything visible on the window and create a single image that you can edit. Here’s a short video on how to capture a scrolling screenshot with Snagit.
Besides capturing screenshots, Snagit can also record screen activity. Its superior editing features also make it the best tool for creating tutorials.
3- PicPick
PicPick is a robust screen-capture and image-editing software developed and owned by NGWIN. It’s my personal favorite screen capture tool, and I use it all the time. The best thing about PicPick is that it’s free for personal use and packs some cool features you won’t find even in the paid programs.

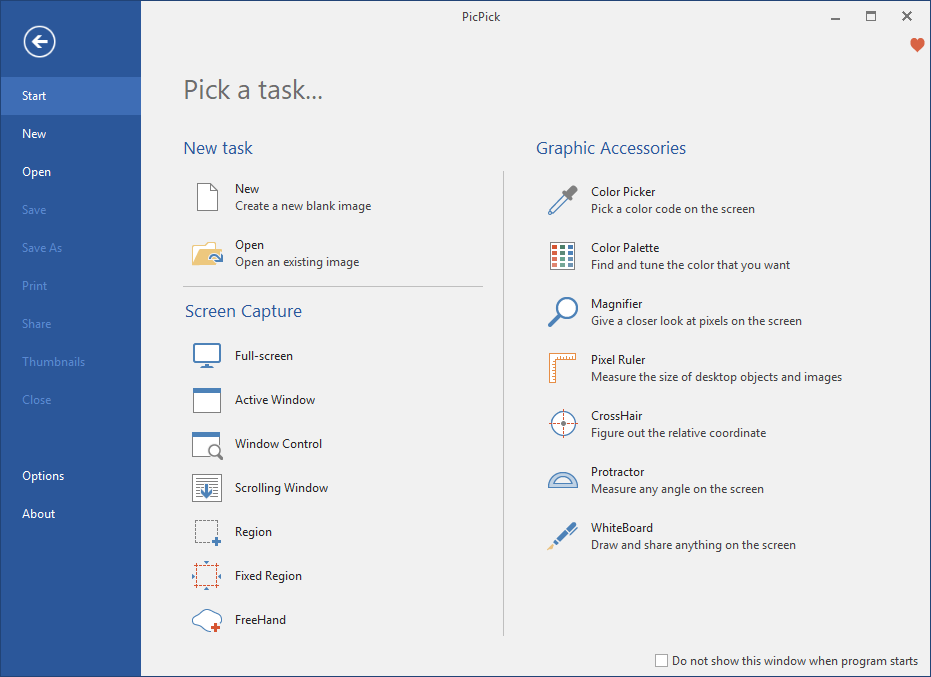
As far as screen capture is concerned, PicPick offers seven screen capture modes: Full screen, Active Window, Window Control, Scrolling Window, Region, Fixed Region, and FreeHand. Each of these modes suits different scenarios and can help you customize your screenshots to your liking. For example, the Region mode can help you to isolate and capture a dialogue box without background noise.
Fixed Region mode allows you to set your desired screenshot length and width in terms of pixel count which helps to ensure all your screenshots are uniform. It also has a Scrolling Window mode that lets you capture a scrolling screenshot of a webpage or a document in just a few clicks.

To capture a scrolling window, follow the steps below:
1) Press and hold Ctrl + Alt together, then press PRTSC. A rectangular box highlighted in red will appear.
2) Press and hold the left mouse button, then drag the mouse on the scrolling window to select the area.
3) Release the mouse click and an auto-scroll will happen slowly. After that, your entire window will be captured in just a few seconds.
PicPick also comes with a pixel ruler which can be used to measure the size of images that are displayed on your screen, a virtual whiteboard that allows users to draw on the screen, and crosshairs for pinpointing the positions of relative pixels.
4- ShareX
Available to buy on its own website as well as the Steam gaming platform (where it has “Overwhelmingly Positive” reviews, as well as having its own well-populated Discord channel, the free screen capture app ShareX is validated by its broad popularity in the discerning game-streaming community.

The open-source app is widely used by gamers for its robust screen-capture options. Among those features – which include video capture, GIFs, region-select, workflows, as well as a huge number of filters and effects to add to your captures – is the “scrolling screenshot” option you’re looking for here.
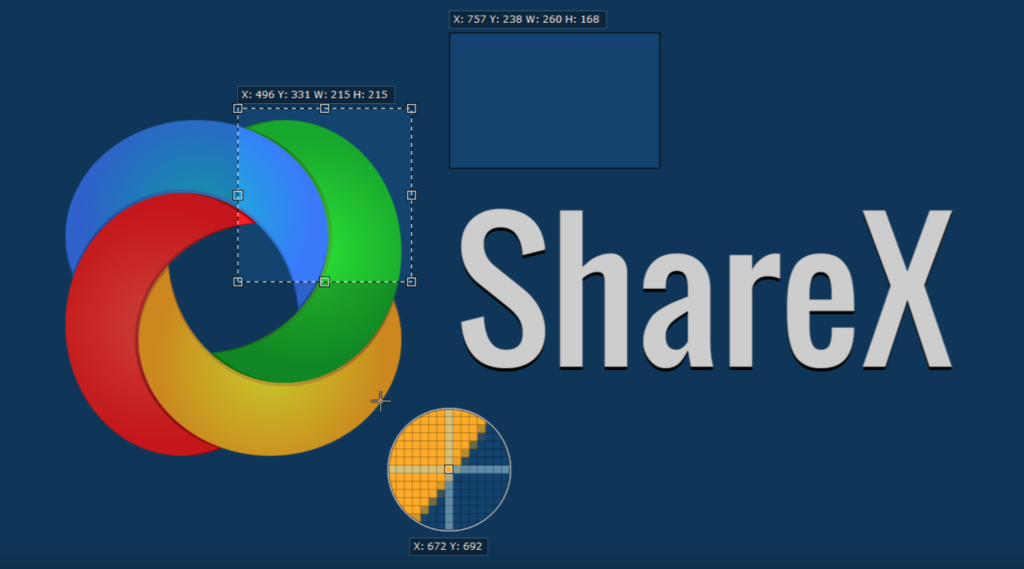
Just open ShareX, click Capture then “Scrolling capture”. Once you select your region, you can specify which window you want to scroll, whether you want there to be a delay before the screen-capture starts, and how many scrolls you want to capture.
It’s nice and easy to use, and unlike other options on this list it’s free without caveats, maintained as it is by a diligent community of open-source developers. Beyond just scrolling, it also functions as an all-in-one screen capture suite, which is pretty impressive given its small file size.

