
USB flash drives are very useful, but not everyone has one, and it is not always possible to lay your hands on a Windows recovery disk every time you want to install Windows 10 on your PC.
DriveDroid, you can install Windows 10 from Android. It only takes a few minutes to set it up.
Requirements Specification
Before you proceed with this tutorial, ensure that you have the following things in place:
- A rooted Android device (Magisk and SuperSU work well for this – always backup your device before rooting)
- 4.5GB or more free space on your Android device
- The Windows 10 ISO file
Setup
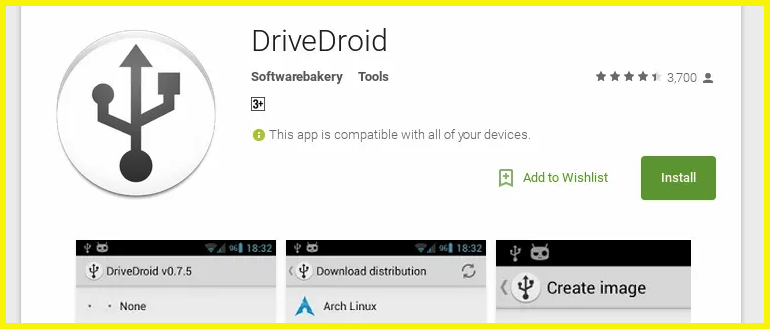
First, you need to install DriveDroid on your device. Launch the Google Play Store app on your device, search for “DriveDroid” and install from there. It’s important to note that the current version works best with Android 9 devices. However, it’s still one of the best options.
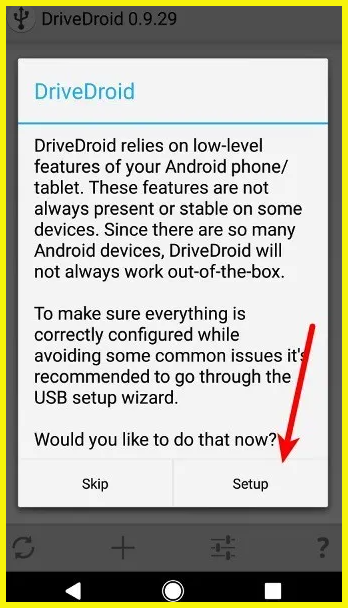
Once you have it installed, you can run the USB setup wizard to configure the application. Hit “Setup” to begin.
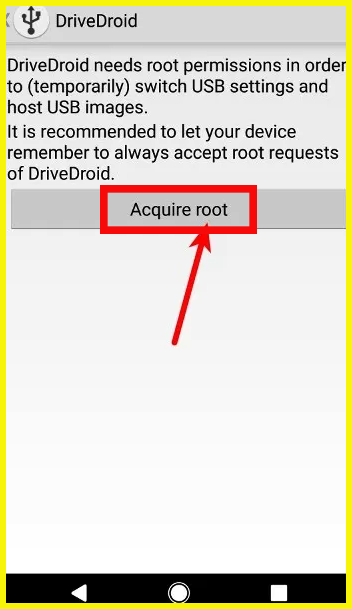
It will verify that your device has not been blacklisted. Tap “Proceed” and then grant the app root access.
Next, connect your Android device to a PC using a USB cable.
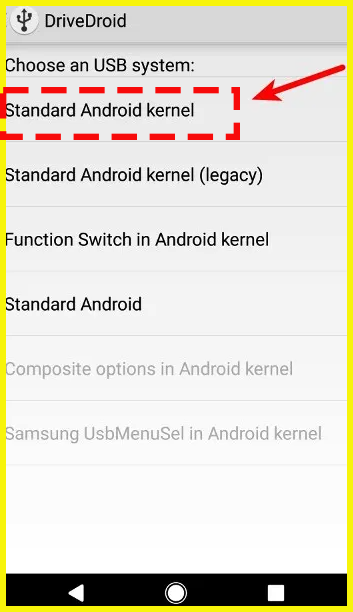
You need to choose from a list of USB systems for handling USB. Most devices will work with the first USB system available.
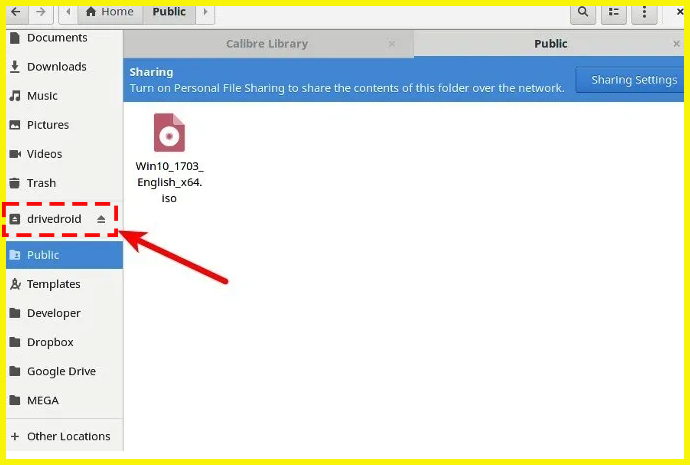
Finally, open the file manager on your PC and confirm if your device is mounted as a USB drive or CD drive. This indicates that your device works well with DriveDroid. You may close the Wizard and proceed with the rest of the tutorial.
If your device doesn’t show up at all, head back to the previous page and try other USB systems until one works.
Create a Bootable Windows 10 Image
Once you have scaled the initial setup, creating a bootable Windows 10 ISO on your Android device should be a walk in the park.
Follow the below-listed steps and make sure your device remains connected to your PC before continuing.
1. Download the latest Windows 10 ISO file and move it to your device’s internal storage or SD Card.
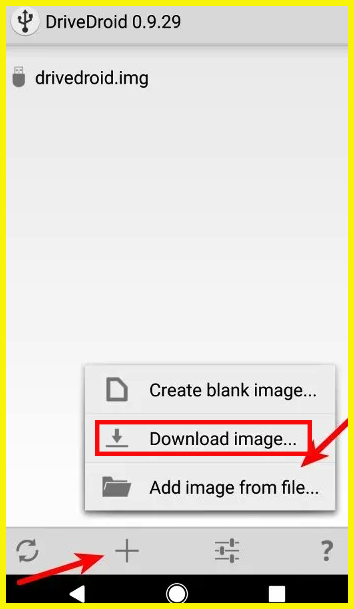
2. Launch DriveDroid and hit the “+” button at the bottom of the screen.
3. Select “Add image from file.”
4. Name your image and tap the magnifying glass icon to select the path of the ISO file. Once done, tap the checkmark at the top to save.

5. Tap the newly-created entry and select one of the hosting options. “CD-ROM” worked for me in this case.
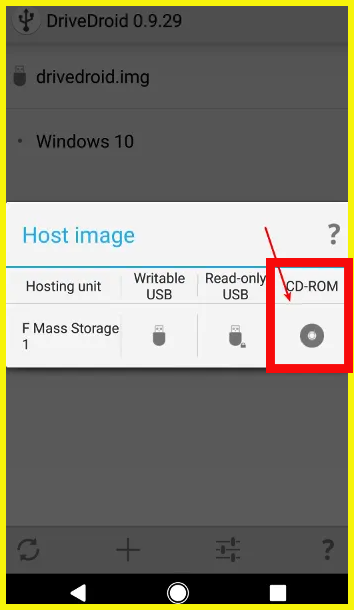
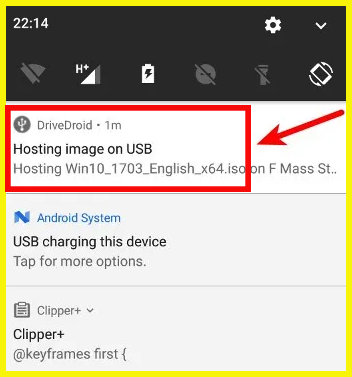
6. Your Windows 10 image should be mounted now. A notification will appear on your phone indicating the successful mounting of the image.
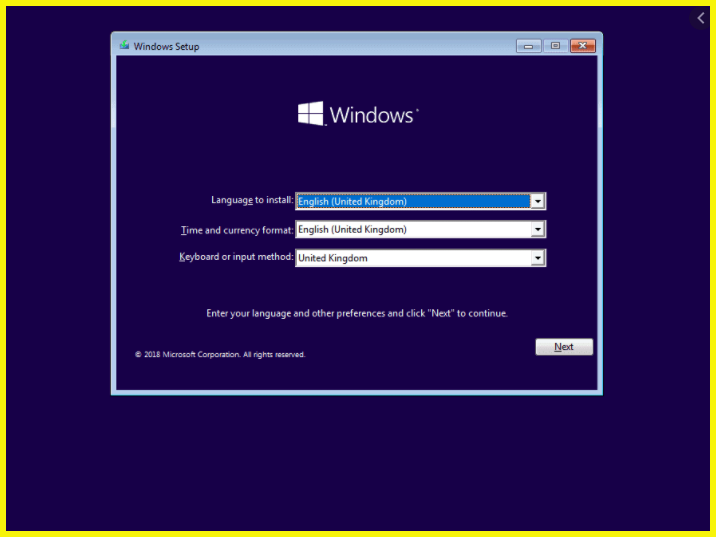
7. Finally, reboot your PC and boot from the Drive where your Windows ISO is mounted.
That’s it! Windows 10 should boot normally, and you will be able to continue the installation process from there.