

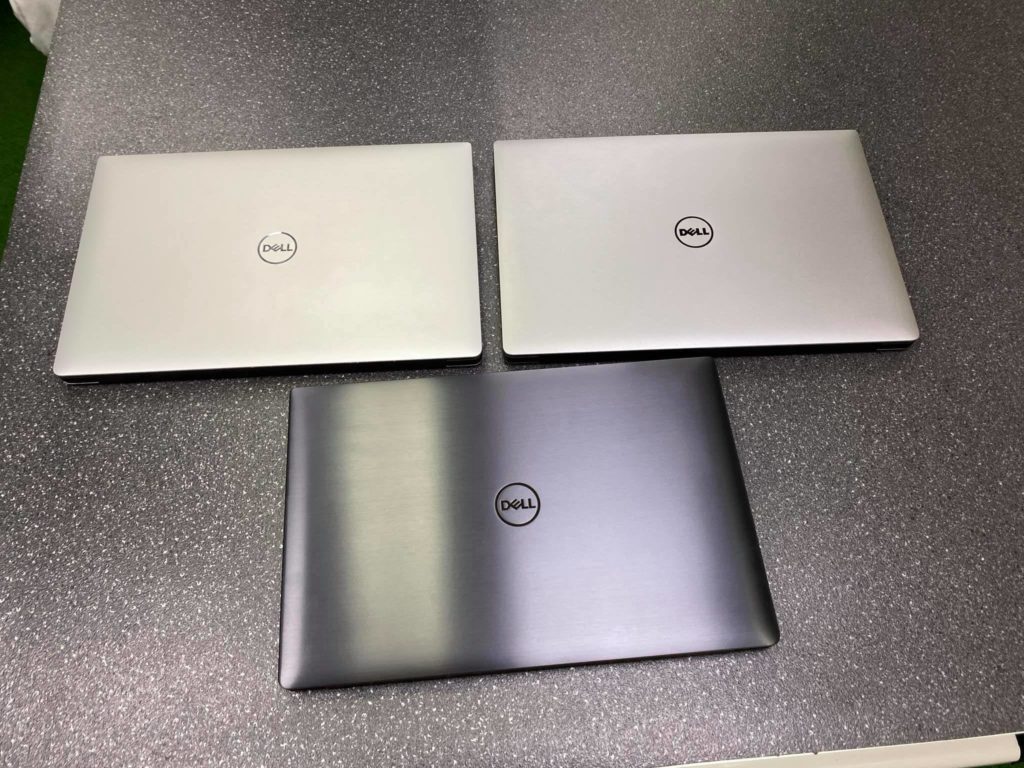
Dell has updates to some of its business laptops. It also includes the new 15-inch Precision 5530. The Precision 5530 is basically a business-oriented, professional version There are two new models of the Precision 5530, the first one is a standard clamshell while the second one is a 2-in-1 version that can easily convert into a tablet.
Upgrade to the new Dell Precision Optimizer Premium version, the world’s first AI-based performance optimizer software for workstations, This program learns the behavior of any user-specified applications, identifies optimization opportunities using machine learning, and applies performance improvements.
Dell’s Precision 5530 can be configured with 32GB of RAM and 2 TB of NVMe SSD. Just like the clamshell model, the 2-in-1 model features a 15.6-inch, 4K InfinityEdge display.

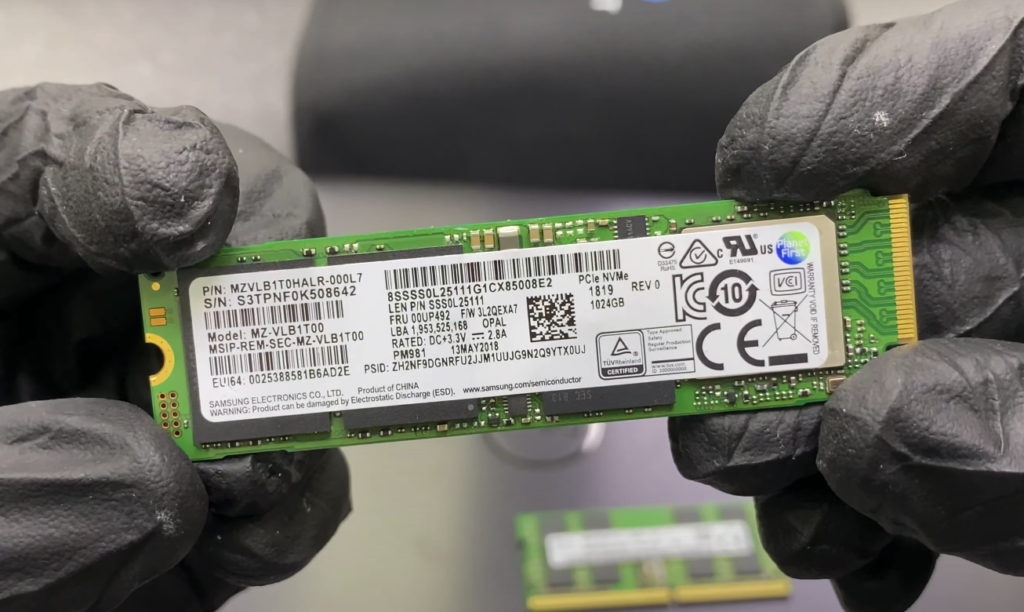
NVMe is a communications interface and driver that defines a command set and feature set for PCIe-based SSDs with the goals of increased and efficient performance and interoperability on a broad range of enterprise and client systems.
How to Upgrade?
1.1 Turn off the machine.
1.2 Remove the ten (10) torx screws around the edges of the case.

1.3 Flip up the magnetic “lid” that says “Precision 5530” to expose the service tag and two Phillips screws. Remove these.

TearDown The Base Cover
1.4 Push base bottom from back side.

1.5 Disconnect the Battery Cable.
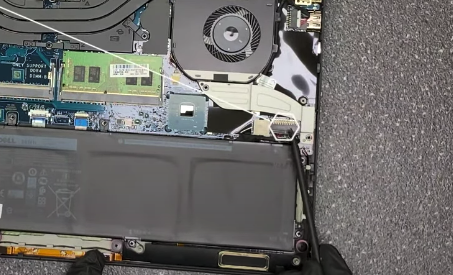
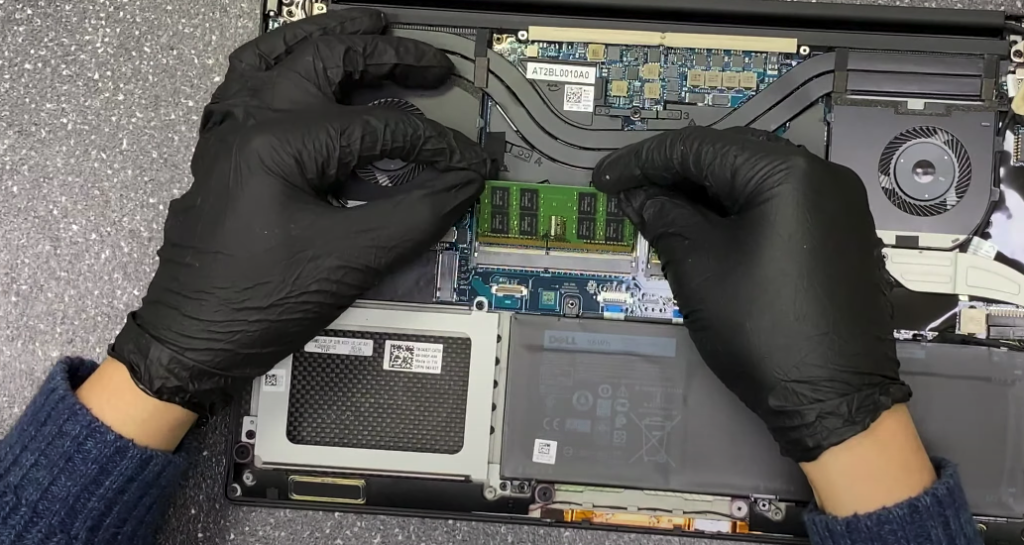
1.7 Installing RAM’s
1.8 Installing NVMe SSD.
